


Create invoices
Manage invoices
Creating invoices is a key step in your administrative management. This tutorial guides you through all the settings and options available to efficiently generate your invoices and adapt them to your context.
If you run “Create invoices” a second time with the same settings, a NEW invoice group will be created as a duplicate. To add invoices to an existing group, use “Refresh invoices” within that group instead.
Before creating invoices
Update subscriptions by age
Make sure all age-based subscriptions are up to date before creation. Invoicing data depends directly on them.
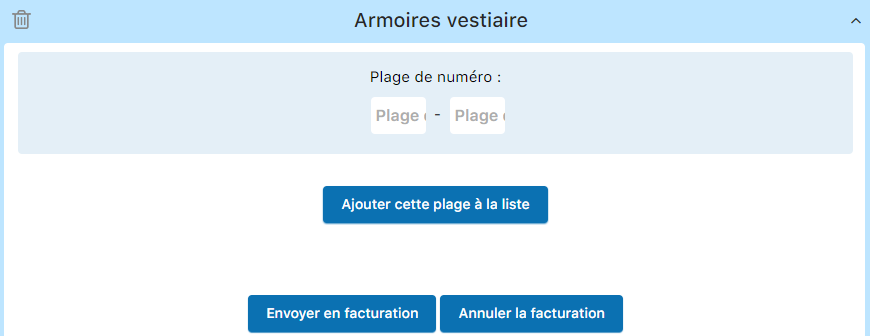
Include object rentals (if applicable)
If you rent out equipment, send it first via INVOICE / OBJECT RENTAL before creating the main invoices.
The creation form
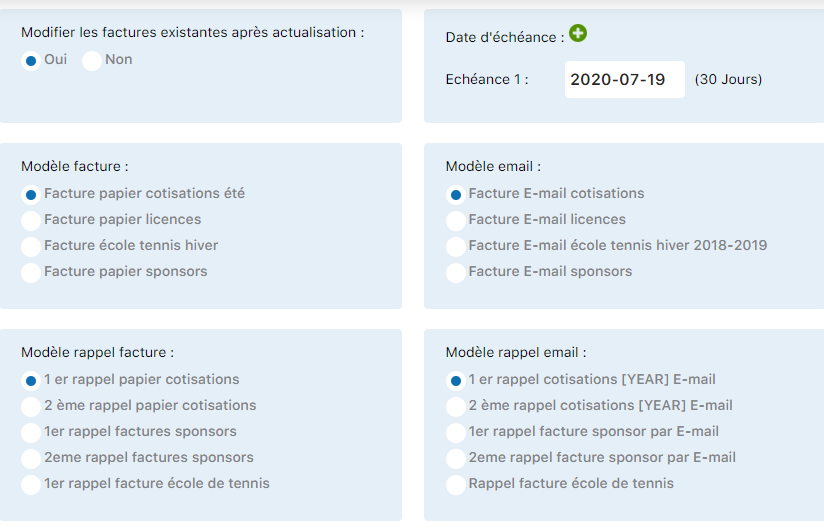
The creation form is your main interface. Here's an explanation of each field:
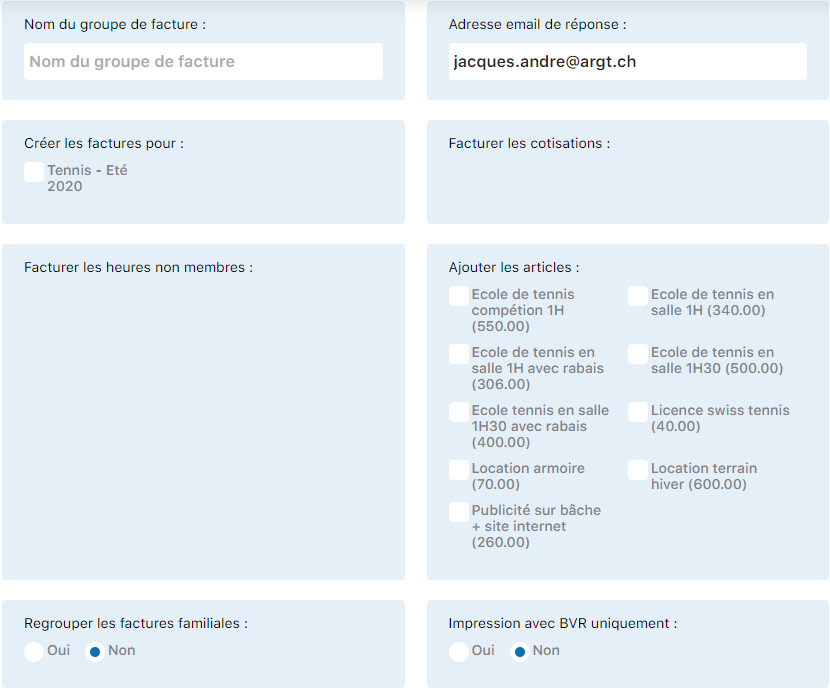
Invoice group name
Identify your group explicitly (e.g. “Licenses 2024”, “Summer 2024 Subscriptions”, “Junior Camps”). This name helps you organize and find your invoices.
Reply email
Enter the email address that will appear as the contact on the invoice. Payments and questions will be directed to this address.
Season
Choose the relevant season. This setting filters the items and members used in invoicing.
Subscription types
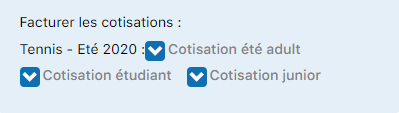
Check the subscription types to include in this invoicing. You can choose several options (standard membership, youth, families, etc.).
Include object rentals
If your club rents out lockers, rackets, or other equipment, process these items before the main invoicing.
Access rental management
Go to INVOICE / OBJECT RENTAL.
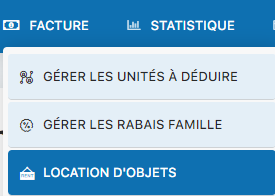
Send rentals to invoicing
The system guides you through transferring rented items to the invoicing module.

First-time creation: group + invoices
The first time you run this, you create both the group and its associated invoices. Here is the complete procedure:
Click "Create"
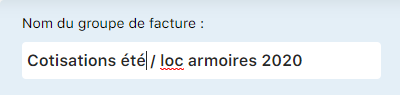
Enter the group name
Enter a descriptive name for your group (e.g.: "Licenses 2024").
Configure the reply-to email
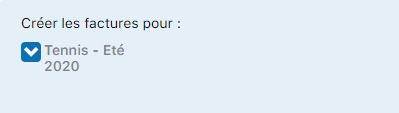
Select the season
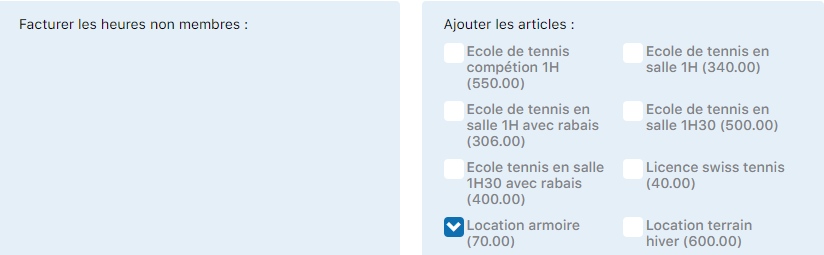
Add items (e.g.: locker rental)
If you also invoice rentals, add the corresponding item.
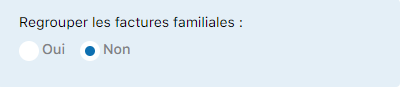
Family grouping option
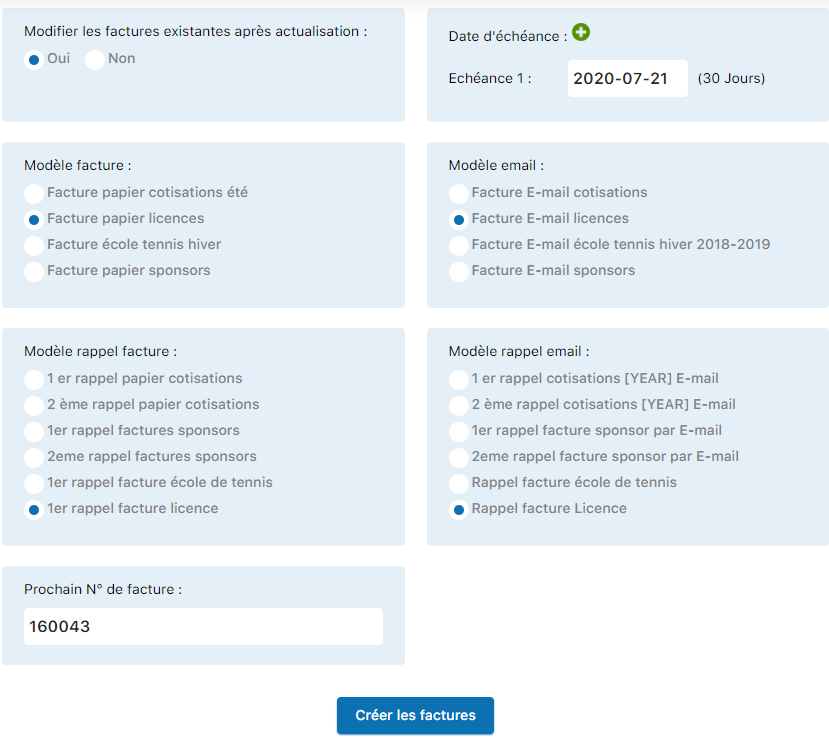
Check this option if you want to group members of the same family onto a single invoice.
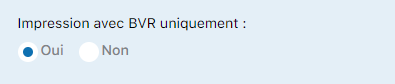
BVR (payment slip) on first page
Enable this option if you want the payment slip to appear on the first page of the invoice.
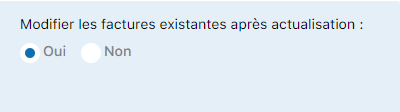
Allow editing before printing
Enable this option to adjust each invoice before printing it (adding discounts, special amounts, etc.).
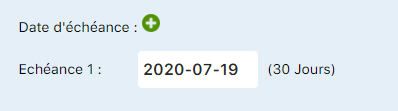
Payment deadline (in days)
Set the number of days allowed for payment before a reminder is generated.
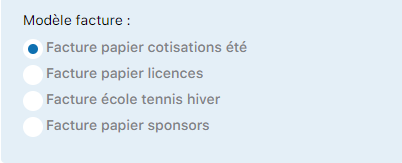
Select invoice templates
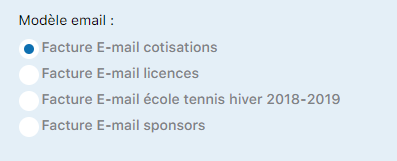
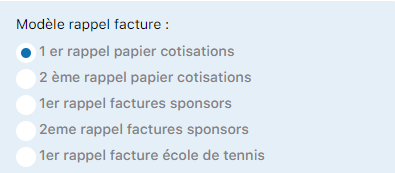
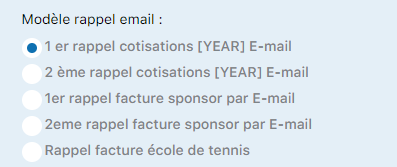
Choose the templates to use:
- Paper invoice : for printing
- Email invoice : for sending by email
- Paper reminder : paper reminder
- Email reminder : email reminder
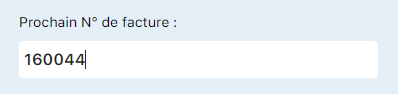
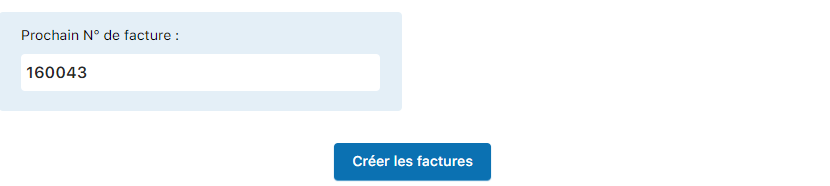
Next invoice number
Indicate the number from which to start invoice numbering.
Start the creation
Click "Create invoices" to generate your group and its associated invoices.
Add invoices to an existing group (refresh)
After the initial creation, you can add new invoices to the same group for new members or subscription changes.
Access invoice management
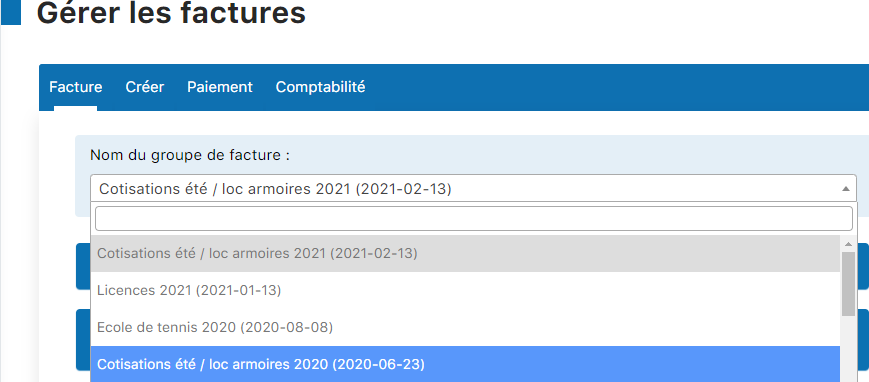
Select the group to refresh
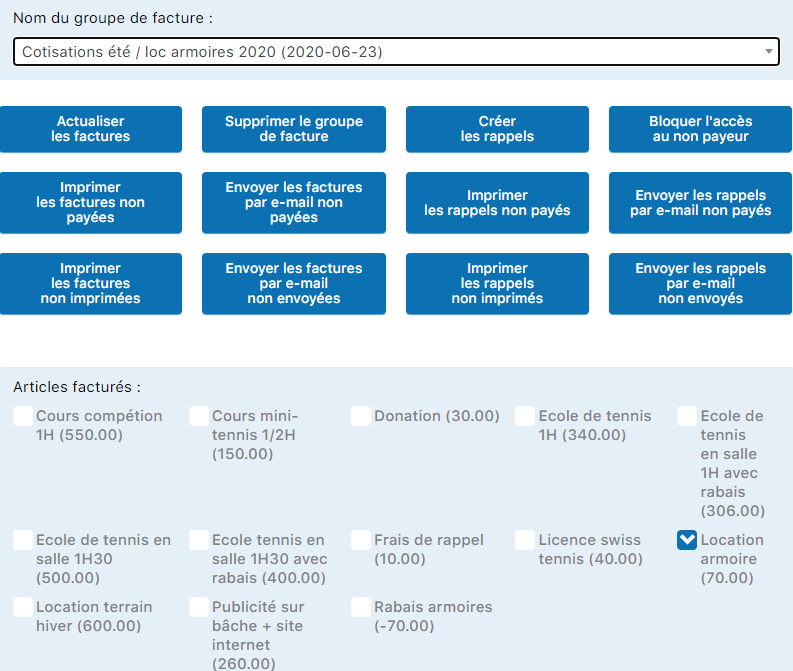
Click "Refresh invoices"
This action updates existing invoices and creates new ones for newly detected members.
Create invoices for specific items (e.g.: licenses)
You can create a dedicated group for items such as game licenses. Here is the procedure:
Check the member-item association
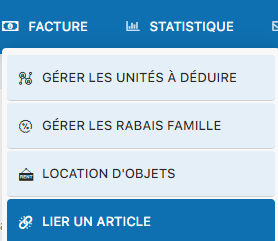
Before creating the group, make sure the items (licenses) are linked to the relevant members. Go to INVOICE / LINK AN ITEM.

Create a "Licenses" group
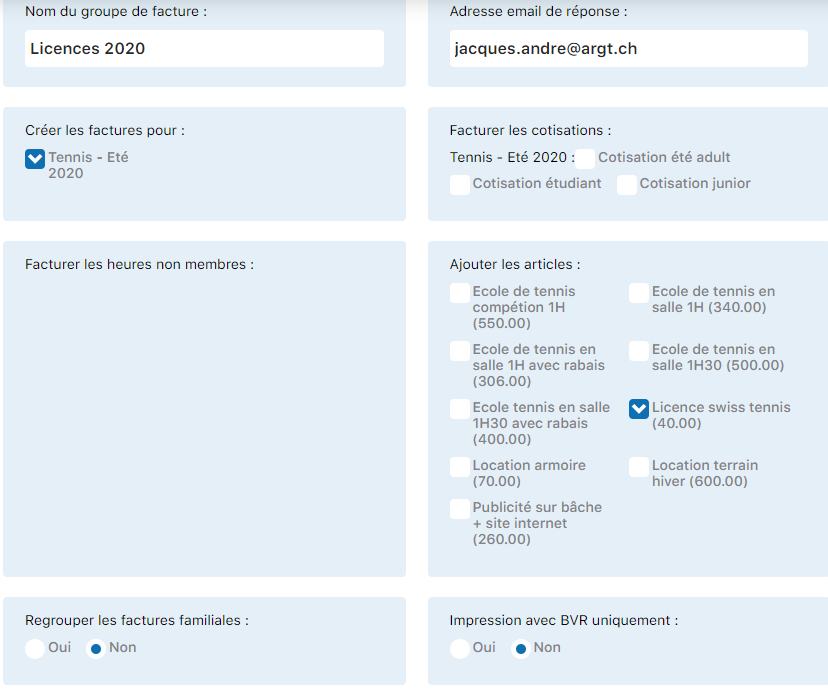
Go to INVOICE / MANAGE INVOICES and click Create.
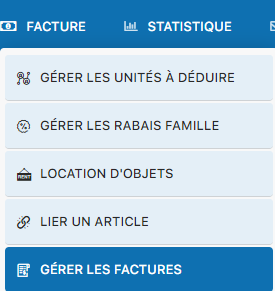

Fill in the form
Enter the group name, email, season, and select only the license item to be invoiced.
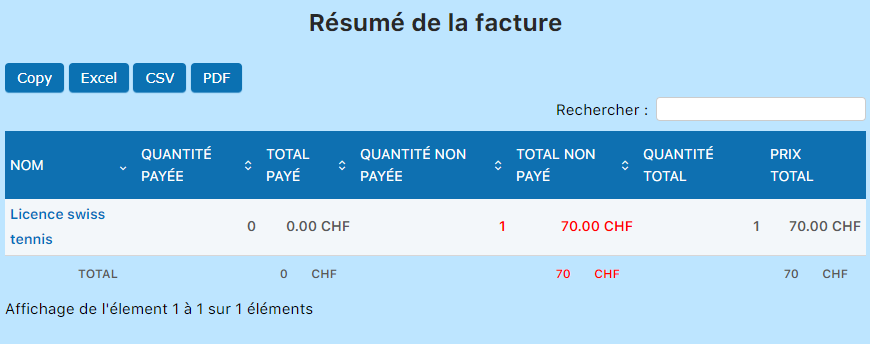
Result: group created with invoices

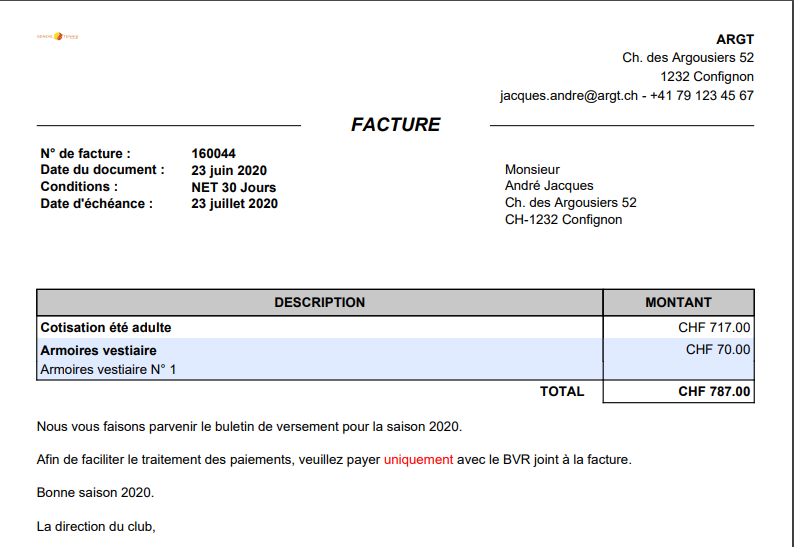
View and check an invoice
Click the pencil icon to edit, then "View invoice" at the bottom to see the final result.

Plugin.ch Tutorial — Manage invoices